What's the weather like in Doug's neighborhood?

Saturday, August 30, 2008

A bit of a break

Well, got a bit of flack from my mom for going silent over here on the blog. Honestly I have just been a garage geek with any amount of free time that I have had recently. If I blog about every little bit of it I am sure to bore everyone and also prove myself a major geek in the process.

I need to get out on a ride. Probably will do something about it this weekend. Holiday weekend, I have hopes to get a few things done up and also have some recreational activities to attend to.

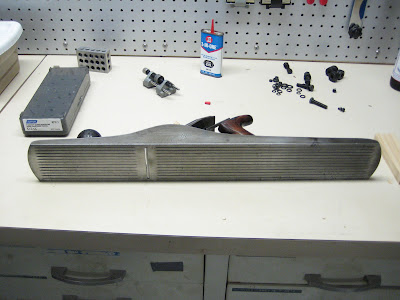
I got my No.7 in the mail on Thursday. They have been getting a bit higher in price on e-bay as of late. At least the nicer ones are going more than I care to spend and the rust seized ones are creeping up to about $30-45 at auction close. So I decided exactly what I wanted, a Stanley No.7 in user condition with a corrugated sole. I watched auctions for about a month got outbid on a couple, but stuck within my price limits on each so I don't feel bad about being outbid. Finally one popped up that I was sure wouldn't get too much attention:


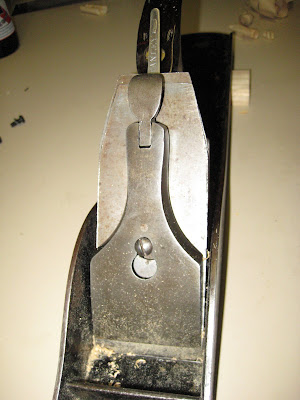
A bunch of paint overspray, very minimal rust showing, handles looked decent, but the blade looked short. I had hopes that the paint overspray may have actually protected the plane as well as deterred other bidders. I ended up right on both instances.

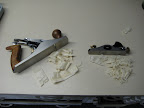
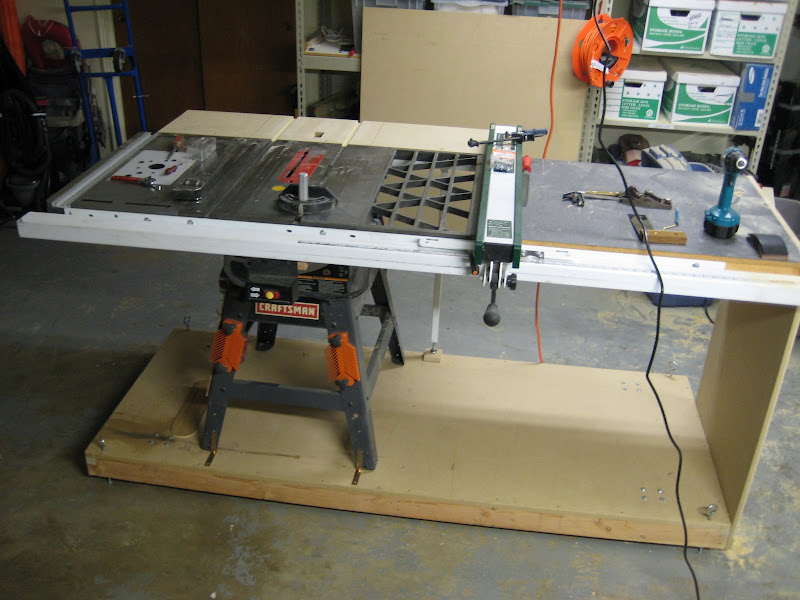
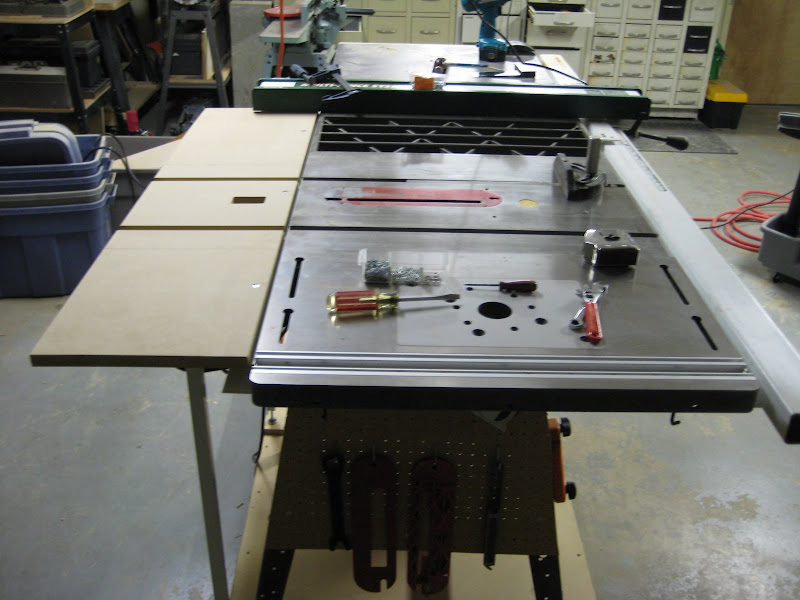
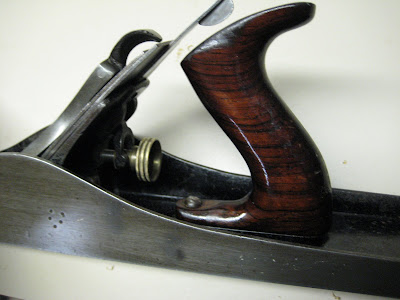
The plane arrived in good shape. I put it on my cast iron saw top and got no rocking. I then removed the handles and sanded them down with 180g. After a couple coats of polyurethane they are looking good. I still need to buff them out but I will let them dry a few more days.


I treated the body and the irons/cap to a scotchbrite and wd-40 bathing. The scotchbrite is a bit too abrasive on the japanning, so I will likely skip it there next time. I found that my dremmel tool with a soft wire wheel worked great to remove the paint overspray and not damage the epoxy much.


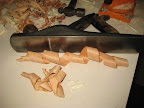
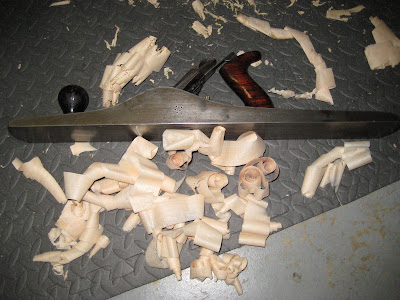
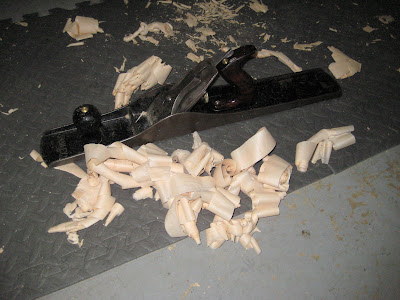
The end result of about 2 hours of restoration and tuning...


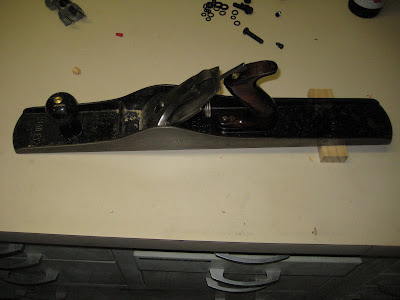
One shot of the growing family of hand planes
Roll call:
Stanley Bailey no.7, n0.5
Stanley others: no.78, 60-1/2, no.29 transitional
Groz: no.4 smoother, LA block
Woodies: unknown manufacturer


That pretty well rounds out planes for general woodworking tasks. There are a few specialty planes that I would like to add eventually (scraper, scrub, 3/4" shoulder), but I will have to put those on the Christmas wish list.

I have been working here and there on the hall table. The legs and aprons for it were milled up last weekend. This weekend it should start to actually look like a table. There were a couple of design changes along the way, but the end result should do nicely. I have been testing out some stains and finishes on test scraps of maple. Getting closer to what I want to finish it in, but still have some more testing to do. This finishing business is real work. I recently discovered that people actually make a living at it. A lot of these guys who make fine furniture prefer to outsource the finishing to the professional finisher. Makes sense. Some guys like to cut wood, others like to paint on it. I don't get that luxury in the garage shop.

That's it for now. I will likely drop a weekend follow-up early in the week. Hope all is well with you guys.

Tuesday, August 12, 2008

Weekend report

Update 8/11/08
Still setting up shop. Seems like just about the time that I finish up something else needs tending to. I have also started refurbishing older Stanley planes for my neanderthal passion. Honestly a cool segway into the past. These planes are 30-100 years old and once given a little tlc are far better than brand new tools coming from China or India. it requires a couple of hours time to bring an old hand plane back to life in the shop.


I have gone ahead and installed a Hock brand iron and chip breaker in the Groz #4. This combination right off the bat eliminated some of the cut chatter. I took the time to flatten the sole, clean up the mouth, and move the frog a little tighter while I had the plane apart. These small exercises took this plane from functional to enjoyable to use. Here is a short video review of the Groz kit pre-updates:


Harbor Freight video #2 with discussion of plane iron and using some Tormek fixtures


This weekend I spent a fair amount of time on the tablesaw. I just wasn't happy with the height (at 44" it was just too tall). I was also not very happy with the stability of the table. Lastly I wanted to add a small outfeed table. Since I can only back it up to the rear hanging motor I may as well have a table back there over the motor.


So I wrestled the saw back off the mobile base. I relocated the casters to the inside of the platform. This lowered the top of the mobile base about 2-1/2". I removed the feet from the saw to lower the top another inch. Now the top of the saw is about 40", which works well for my height.


While I had the base upside down I took the opportunity to add eye bolts and t-nuts for leveling and stability of the base. I gotta say, this is an excellent solution for stopping the wiggle that I had with just caster brakes. Ten bucks well spent. I will need to devise a foot as the thread ends concentrate load enough to damage the floor if you just turn them without aid. But once elevated off the casters the whole platform is rock solid.

To further assist stability I added a piece of 3/4 mdf to the left end of the table. This removed any hint of wiggle at the table surface. I used deck screws to fasten to the base and 1/4in bolts to hold it to the extension table. I may add another end off the router side, but haven't decided that it is necessary (and it could block access to the router). Last thing to do was bolt the saw base to the platform. it was prone to shifting when I pushed the platform around the shop.

Next I did up a quick and dirty outfeed table. I don't want to worry about warping, bowing, or wood movement. So I devised an adjustable/leveling attachment scheme. Basically 1/4-20 bolts to the rear angle iron and the support legs from the extension table. With aid of the long bolts, extra nuts and a couple of lock washers I was able to work out levelers. To prevent bowing under load I jointed a 2x6 and glued it to the underside of the table.


Okay, on a positive note I am producing sawdust and wood chips in the shop again. I see a light at the end of the tunnel where my tools are setup and I can actually work on wood and not machinery again. I have been able to get back to work on the hall table. The top is now trimmed to finish dimension, planed, and scraped. Next comes the legs and skirt. Check back for updates as they come.

Thursday, August 7, 2008

Learning to shave


What the heck is that?

Those are shavings off my card scraper. Next question you are probably asking is why is Doug taking pictures of saw dust. Well, a card scraper is one of those things that you buy basically as a piece of sheet metal. You have to figure out how to file, polish, and burnish it before you can produce the above shavings. So now I can sharpen a card scraper. I just need to get some practice and I should have it down.

What's the point? Card scrapers and cabinet scrapers are old school tools. Master the use of them and you can kiss sandpaper goodbye. Since they shear the grain instead of tearing it like sand paper the finish will actually be better as well. I am not there yet, but have seen glimpses of just how smooth the surface good scrapers and planes can leave.


Okay, what now Doug?

Tune your plane a bit and you can cut shavings thin enough to read through. Kind of cool. This shaving is off my #4 Bench and is just under .004" at the thinnest section of the shaving. It doesn't work as well on figured hard woods, the grain on this walnut was all over the place.

Then again, I guess technically it is see through...

Nothing much going on around these parts. Honestly I don't know where the days go. I have only spent a couple hours in the garage this week. Recovering from the weekend's hubub is part of it. Getting Austin to school this week. We got our final installment of the Avatar series. They did a great job closing out the series. We have all of them, but you have to come to AL to see them. I have been reading a definitive works book on sharpening. It is a bit windy, but good information none the less. I watched the kids last night while Erin tought over at the church. I made them dinner. Austin and Faith hung out at the bar while I cooked. Afterwards Faith made me dinner in her kitchen. It was very sweet.

That's it in a nut shell. Yet again Thursday ride put off due to afternoon thunderstorms passing through. Bunch of bs this weather. I remember this some from last year. I think August is prone to these afternoon storms.

Video review of the Groz planes I have been working with...

Tuesday, August 5, 2008

Still squaring up


I have really been wanting a precision square. Something that I know is dead-on no question about it. I was cruising around the other day and noticed someone had a kit that coupled the brass gauge bars with a 1-2-3 block. Brilliant. I can’t believe that it eluded me for so long. A 1-2-3 block is a perfect square to help set up tools. With accuracy under .0005” over the entire length they are far superior to the pencil line aligned squares in my kit. So I got on e-bay and found a nice seller who hooked me up with 4 of them for under $25 shipped to my door. That is about half the cost of the cheapest of the woodworking specific “precision” squares and they are usually only guaranteed to about .001”.

The only bad part is that they show that my squares aren’t as perfect as I thought. Oh well, guess the pencil test can only get you so close. I was even using mag glasses and a fine pencil. For those unfamilliar with mag glasses, here is Austin modelling the goods.


Bottom line, even cheap machinist setup squares are as precise as expensive wood squares. Also, not too worried about dropping them on the floor. Heck they are likely to dent the floor.

Using the blocks to set my jointer last night was a breeze. They engage solid on the fence and the bed. There is no question that they are sitting flat. I think they will also be handy for tablesaw setup. Who knows what else, but with a few of these around the shop I am feeling very confident they will come in handy.